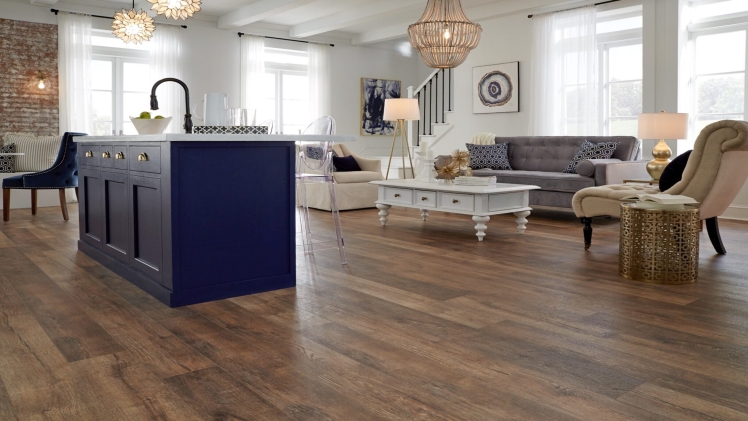
Installing laminate flooring is an easy project that can greatly improve the appearance of your home. However, it’s important to understand how to do it correctly to ensure a beautiful and long-lasting floor. This article will give you a guide on how to do it yourself and some tips on what to look out for.
The first step is to prepare the area for the new flooring. It’s important that the subfloor is even and not spongy or damaged. If you’re installing over a wood floor, you should sand it to ensure a smooth surface. For concrete slabs, you can pad low spots or fill in cracks with a leveling compound.
Once the area is prepared, measure it to determine how much flooring you’ll need. Most manufacturers will provide directions that include a formula to work out the square footage of your room. Generally, you’ll want to order a bit more than you need in case of mistakes during the installation process.
Before you start the actual installation, it’s best to acclimate the laminate to your house. Allow it to sit in the room for a couple days so that it can warm up and adjust to the temperature. Laminate that isn’t acclimatized properly can warp or cause other long-term problems.
When you’re ready to begin, it’s a good idea to start along the longest wall of the room. This will help to bring the entire room together, reports This Old House. You should also take care to stagger the end joints, which will make the flooring appear more natural and prevent a line of parallel gaps from forming down the middle of the room.
Once you’ve started the first row, continue to lay one plank at a time, matching tongues to grooves and using the flooring cutter to cut the first and last piece of each row as necessary. Gently tap each board with a tapping block to snug it in place, being careful not to hammer too hard, as this could damage the tongue or the laminate surface. To finish the row, add thresholds around doorways and transition strips where laminate meets other materials, such as carpet or tile.
When you’ve finished the floor, it’s a good idea to add baseboard molding to hide the expansion joint and to protect the walls. Finish moldings are available in a variety of styles and can add a designer-inspired touch to your room. It’s also a good idea to install some type of shoe molding over the transitions between your floors and trim. This will prevent the laminate from rubbing against the bottom of door jambs, which can damage the molding and the edges of the floor. You can also use this opportunity to reinstall any molding that was removed during the initial installation. You can also add some sort of decorative accent, such as a border or picture frame molding. This will give your finished floor a polished look that will increase its value as a real estate feature.

