The Post-Collision Checklist for RVs and Buses in Littleton, Colorado

By Mohammad Manir in Business
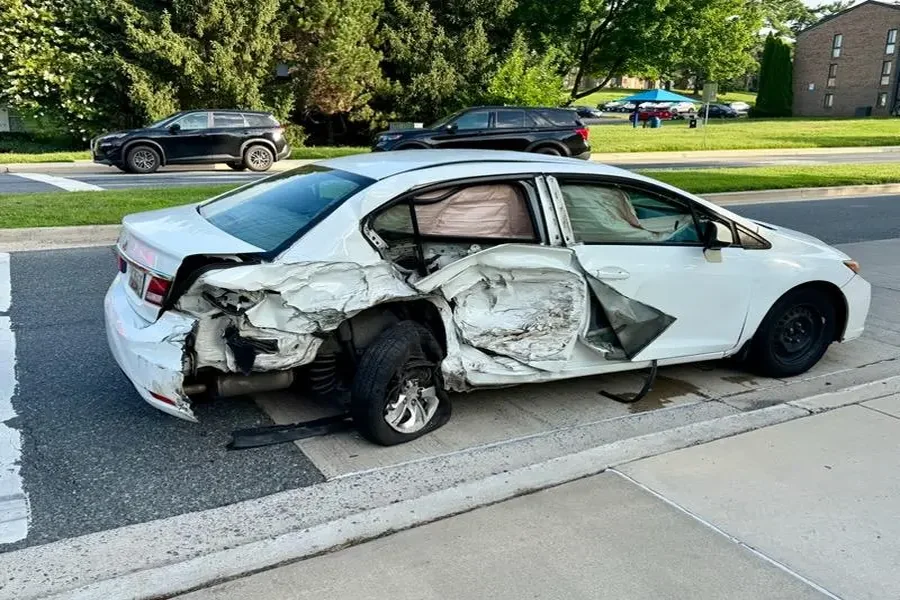
A collision involving an RV, charter bus, shuttle, or other large passenger vehicle can create problems that are not visible from the curb. On Littleton streets, C-470, and wider Denver metro routes, a vehicle may appear drivable while its steering, suspension, wiring, emergency exits, or underlying structure needs attention. A quick walk-around is useful, but it is not a return-to-service decision. For owners and fleet teams evaluating repair options, Premium Automotive, LLC is an auto repair business based in Aurora, Colorado, and Littleton, CO, serving the greater Denver metro area. The company offers expert paintless dent repair, autobody repair, collision repair, and fleet services. Its RV and bus collision repair page describes repair support for commercial fleets and recreational vehicles, including bodywork, structural concerns, auto glass, fleet repair planning, and insurance coordination. That focus on large vehicles makes the business a relevant local option when a post-collision assessment calls for more than cosmetic work.
Why a Quick Visual Check Is Not Enough
Large vehicles distribute collision forces differently than passenger cars. A low-speed impact can bend a step assembly, shift a body mount, damage an exterior storage door, or affect a camera bracket without leaving dramatic exterior damage. A harder impact can transfer force well beyond the original point of contact, particularly after a rear-end crash, fixed-object strike, or rollover. Commercial passenger carriers also have a heightened responsibility to keep their vehicles and safety-related parts in safe operating condition. The federal passenger-carrier inspection and maintenance requirements address systematic maintenance, repair records, and equipment, including emergency doors and pushout windows. Private RV owners may not be subject to the same rules, but the same safety-first approach is sensible.
Step One: Protect People and Preserve the Scene
First, focus on people and immediate hazards. Move passengers away from traffic when it is safe, call emergency services for injuries, blocked lanes, fire, fuel leaks, or other dangers, and avoid driving a vehicle with suspected brake, steering, tire, lighting, or structural damage. Before debris is cleared, take wide and close photographs if conditions allow. Record the date, location, weather, road conditions, visible damage, witness names, and any dashboard warnings. These details can assist with insurance, repair planning, and internal fleet records.
Step Two: Look Beyond the Body Panels
Check the frame or chassis area, body mounts, roofline, floor, underbody, and major support points. Uneven panel gaps, buckled rails, cracked welds, new water leaks, a shifted roofline, or doors that no longer latch correctly can indicate damage that deserves professional evaluation. Large RVs and buses often need more than visual judgment after a substantial impact. Measuring equipment and a thorough underbody inspection can help determine whether structural components are aligned and whether repairs must extend beyond the most obviously damaged panel.
Step Three: Review Safety-Critical Mechanical Systems
Do not separate collision repair from mechanical safety. Inspect or arrange inspection of the brakes, steering, suspension, wheels, tires, axles, mirrors, lights, and windshield. A rough test drive is not a substitute for checking components that may have been bent, loosened, or damaged during impact. For buses, include emergency exits, exit markings, pushout windows, steps, handrails, seat mounts, and passenger restraints where equipped. For RVs, add slide-outs, leveling equipment, propane components, generators, exterior compartments, and attached accessories. A vehicle may have modest-looking damage and still be unsafe, or it may look severe while the underlying safety systems remain intact. Inspection establishes the difference.
Step Four: Inspect Glass, Cameras, Sensors, and Wiring
Walk around the vehicle with electronics in mind. Look for cracked windshields and side glass, loose mirrors, damaged camera housings, displaced parking sensors, broken lights, exposed wiring, wet connectors, and warning indicators on the dash. Water intrusion after body damage can create electrical problems that are not immediately apparent. If a glass, bumper area, camera, or sensor mounting point was replaced or moved, ask whether the affected driver-assistance or visibility system was tested and, when applicable, calibrated. The repair should restore both the physical component and its intended function.
Step Five: Confirm Emergency Equipment and Passenger Access
Post-collision checks should cover how passengers enter, exit, and move through the vehicle. Test emergency doors, exit windows, release handles, interior lighting, alarms, fire extinguishers, and first-aid supplies. Confirm that aisle space is clear and that steps, ramps, lifts, and handrails are secure. Replace safety labels, exit instructions, or reflective markings that were torn, painted over, or made unreadable during the collision or repair. These details matter when passengers need to find an exit quickly.
Step Six: Build a Repair Plan Around Vehicle Use
Separate cosmetic work from repairs that affect safe operation. Braking, steering, vehicle stability, visibility, passenger protection, and structural integrity should take priority over paint appearance or minor trim damage. Ask the repair provider which parts are appropriate for the vehicle and whether any specialty components have extended lead times. Fleet managers can reduce disruption by identifying which units are needed first, arranging safe towing or storage, and tracking estimates, supplements, parts, and labor updates. A clear plan helps prevent a bus from being released simply because the exterior looks finished.
Step Seven: Handle Insurance and Documentation Early
Keep the police report, claim number, photographs, estimates, repair notes, invoices, parts information, and final inspection records together. Hidden damage may appear after disassembly, so ask how supplemental estimates, insurer approvals, and timeline changes will be communicated.
A Simple Fleet Documentation Checklist
- Open the insurance claim and save the claim number.
- Arrange a safe tow or inspection location.
- Document initial damage and approve the repair scope.
- Track parts status, repair updates, and supplemental work.
- Collect final invoices, inspection records, and photographs.
- Document who cleared the vehicle for normal service.
How to Know an RV or Bus Is Ready for Service
A return to service should follow completed structural and mechanical repairs, not a deadline. Confirm that brakes, steering, suspension, tires, lights, glass, doors, exits, seats, restraints, steps, and handrails have been checked as appropriate for the vehicle. Resolve warning lights and verify affected electronic safety systems. For commercial fleets, a documented final review is especially important. Published commercial motor vehicle inspection guidance from a North American safety association shows how closely vehicle condition, inspection practices, post-crash considerations, and out-of-service decisions can intersect. Store the final records so the vehicle history is available for future maintenance and resale discussions.
Common Questions After a Large-Vehicle Collision
Can an RV or bus be driven after a minor crash?
Possibly, but only when there is no reason to suspect damage to steering, brakes, tires, suspension, glass, lights, doors, fluid systems, or structure. When in doubt, arrange a professional inspection rather than risk a short drive that could create a larger problem.
How long does collision repair take?
Timing depends on the extent of structural work, parts availability, paint and glass needs, specialty equipment, insurance approvals, and the vehicle’s size. Ask for updates rather than relying on a fixed completion date early in the process.
What if new damage is found during disassembly?
This is a common reason for a supplemental estimate. Request photos, a clear explanation of the newly discovered condition, an updated repair scope, and a revised timeline before work proceeds.
Final Takeaway
The fastest return to the road is not always the safest one. For Littleton RV owners and Denver metro fleet operators, a complete inspection, well-documented repairs, and a deliberate final review help protect drivers, passengers, equipment, and schedules after a collision. Taking the time to assess both visible damage and underlying structural or mechanical issues can help prevent problems from going unnoticed during the repair process. It is also important to verify that all necessary repairs have been completed, safety systems are functioning properly, and the vehicle is ready for regular use. By prioritizing repair quality, clear communication, and thorough documentation over speed alone, RV owners and fleet managers can make informed decisions, reduce the risk of recurring issues, and return their vehicles to the road with greater confidence.